A Journey to a Fresh Look
There’s something oddly satisfying about customizing your keyboard. For many of us, a keyboard is more than just a tool for typing; it’s an extension of our personalities, a canvas for self-expression, and, let’s be honest, a potential germ magnet. If your keyboard is anything like mine was, you might find crumbs lurking between the keys, a sticky residue you can’t quite identify, and a layer of dust that’s borderline embarrassing. If you’re ready to reclaim your keyboard and give it a brand-new look, changing your keycaps is a fantastic way to achieve both functionality and aesthetic appeal. Here’s how I transformed my grimy keyboard into a sleek, customized piece of tech.

Step 1: Admitting the Problem
The first step in any keyboard transformation journey is acknowledging that your current keyboard setup needs some serious TLC. I’d been using the same keyboard for years, and while it had served me faithfully, it was showing its age. The keys were discolored, the legends were fading, and it was impossible to ignore the accumulation of grime. I knew it was time to make a change, and switching out the keycaps seemed like the perfect opportunity to breathe new life into my trusted companion.
Step 2: Choosing the Right Keycaps
Before diving into the process, I spent some time researching keycaps. The world of keycaps is surprisingly vast, with options ranging from simple, monochromatic sets to intricate designs that look like miniature works of art. Here are some factors I considered while choosing my keycaps:
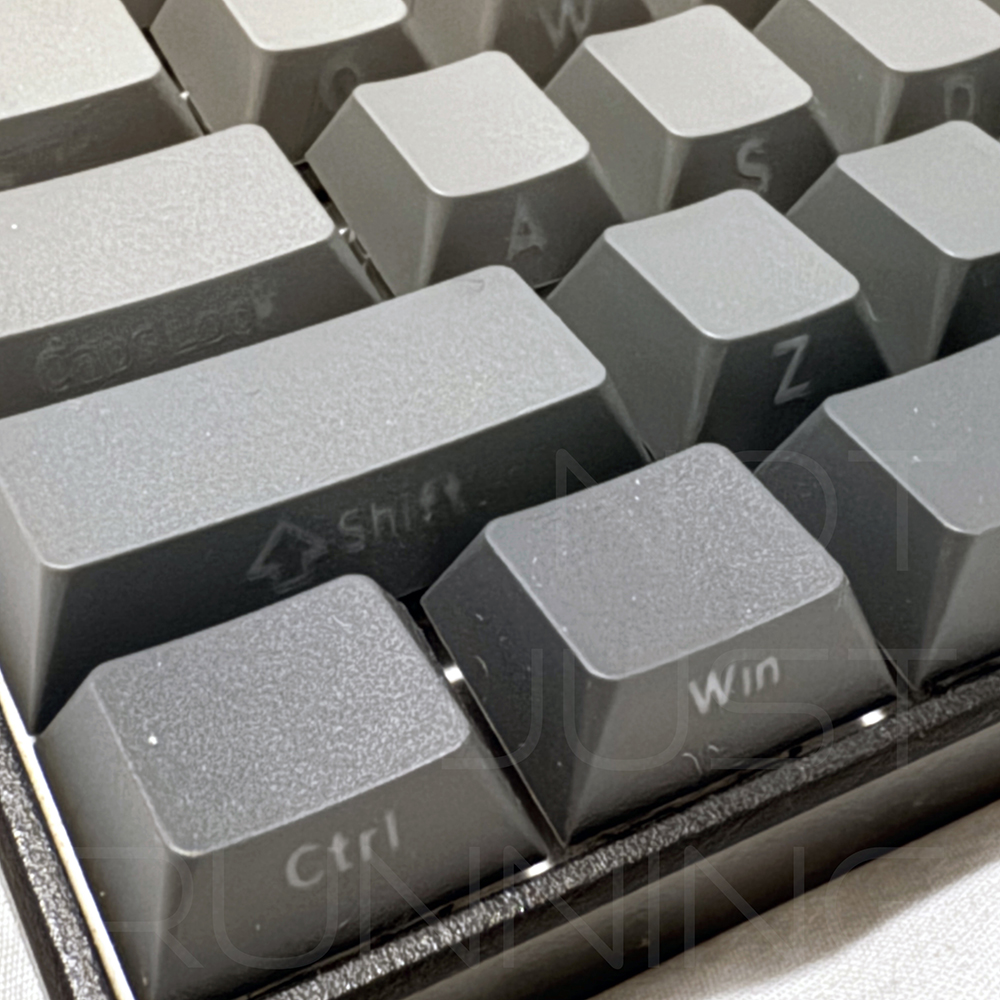
- Material: Keycaps are typically made of ABS or PBT plastic. ABS keycaps are lighter and shinier but prone to wear and discoloration over time. PBT keycaps, on the other hand, are thicker, more durable, and resistant to shine. I opted for PBT keycaps for their longevity and satisfying tactile feel.
- Profile: Keycap profiles determine the shape and height of the keys. Common profiles include OEM, Cherry, SA, and DSA. I chose the Cherry profile because it felt familiar and comfortable for extended typing sessions.
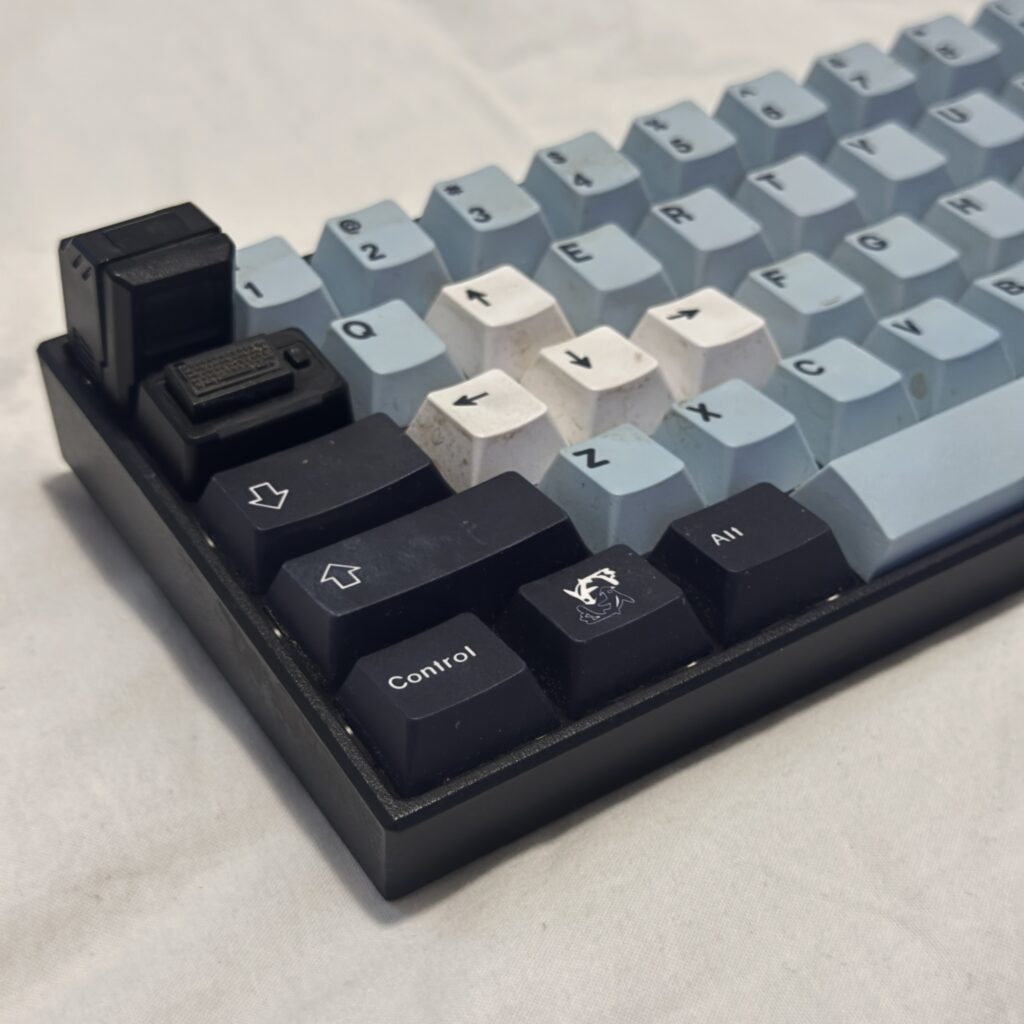
- Design: This is where personal preference comes into play. I wanted something that would stand out, so I went with a retro-themed set featuring pastel colors and bold legends.
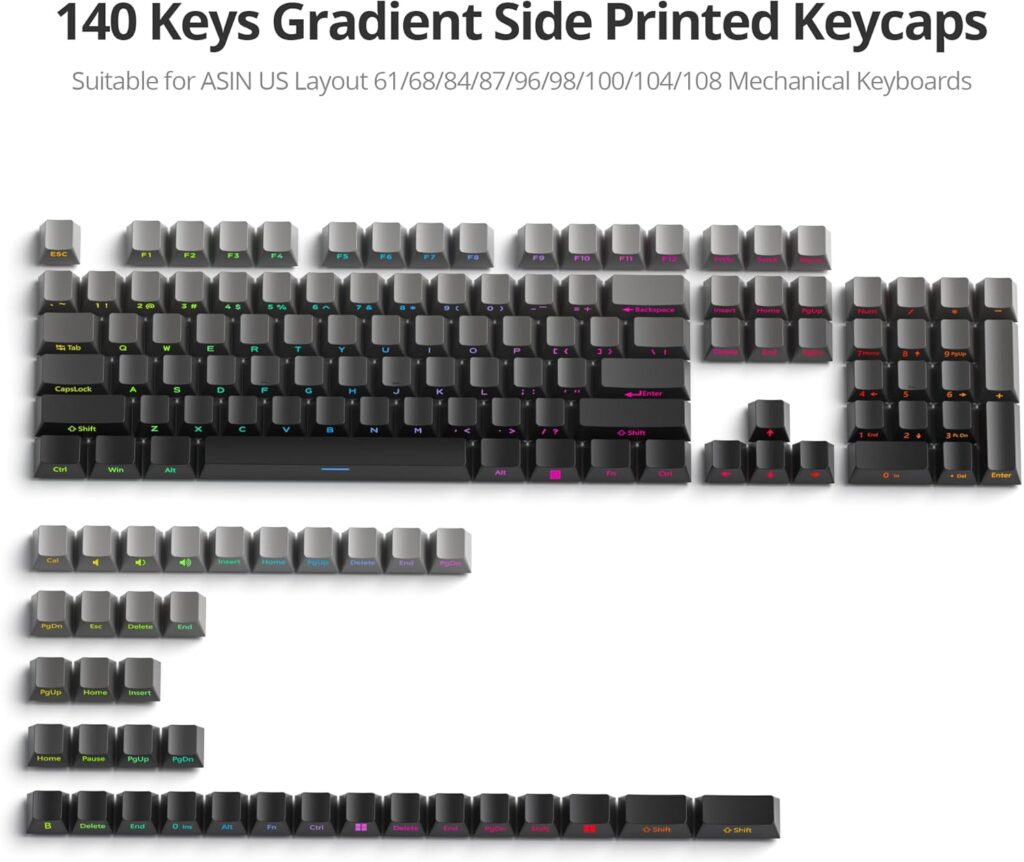
- Compatibility: Not all keycaps fit every keyboard. I made sure to check my keyboard’s layout and the keycap set’s compatibility to ensure a seamless fit.
Step 3: Gathering Supplies
Once I had my keycaps, it was time to gather the tools I’d need for the swap. Here’s what I used:
- A keycap puller (essential for safely removing the old keycaps)
- Isopropyl alcohol and cotton swabs (for cleaning the keyboard)
- A small brush or compressed air (to remove dust and debris)
- A microfiber cloth (for a final polish)
- A small container (to hold the old keycaps temporarily)
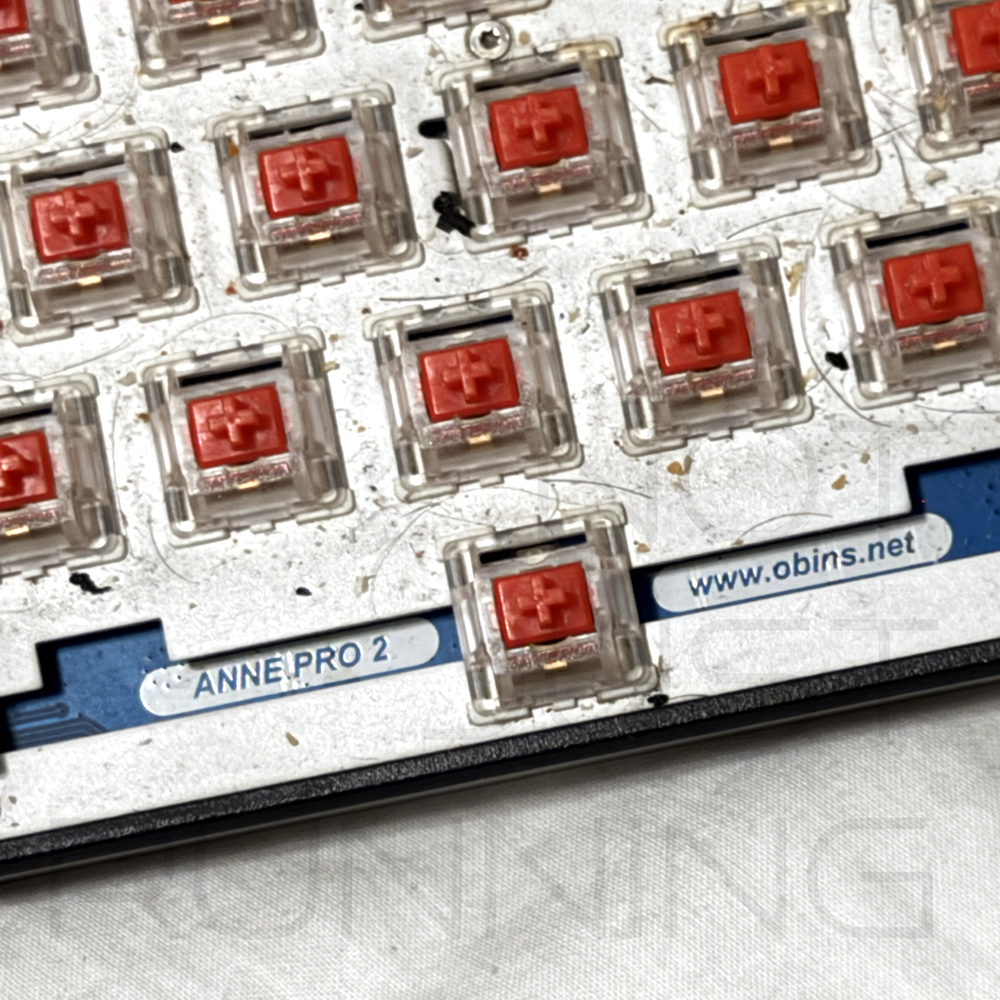
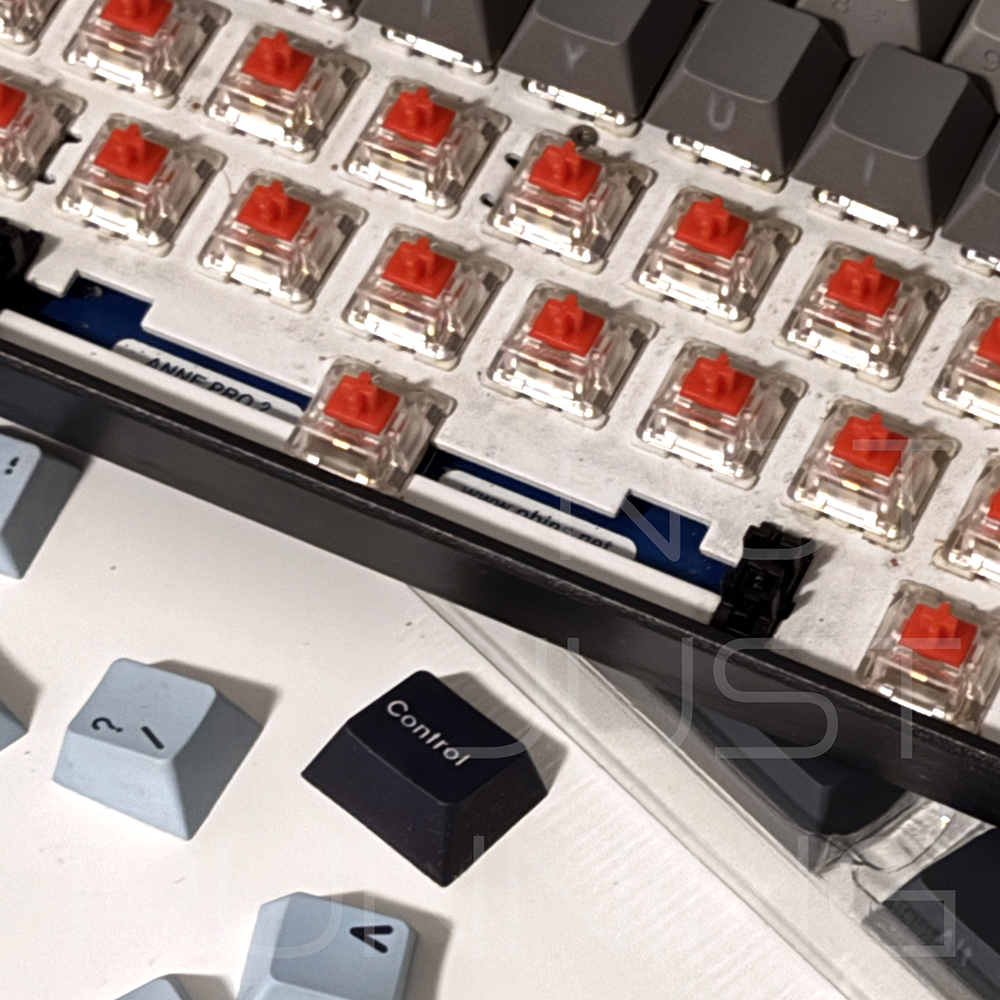
Step 4: Removing the Old Keycaps
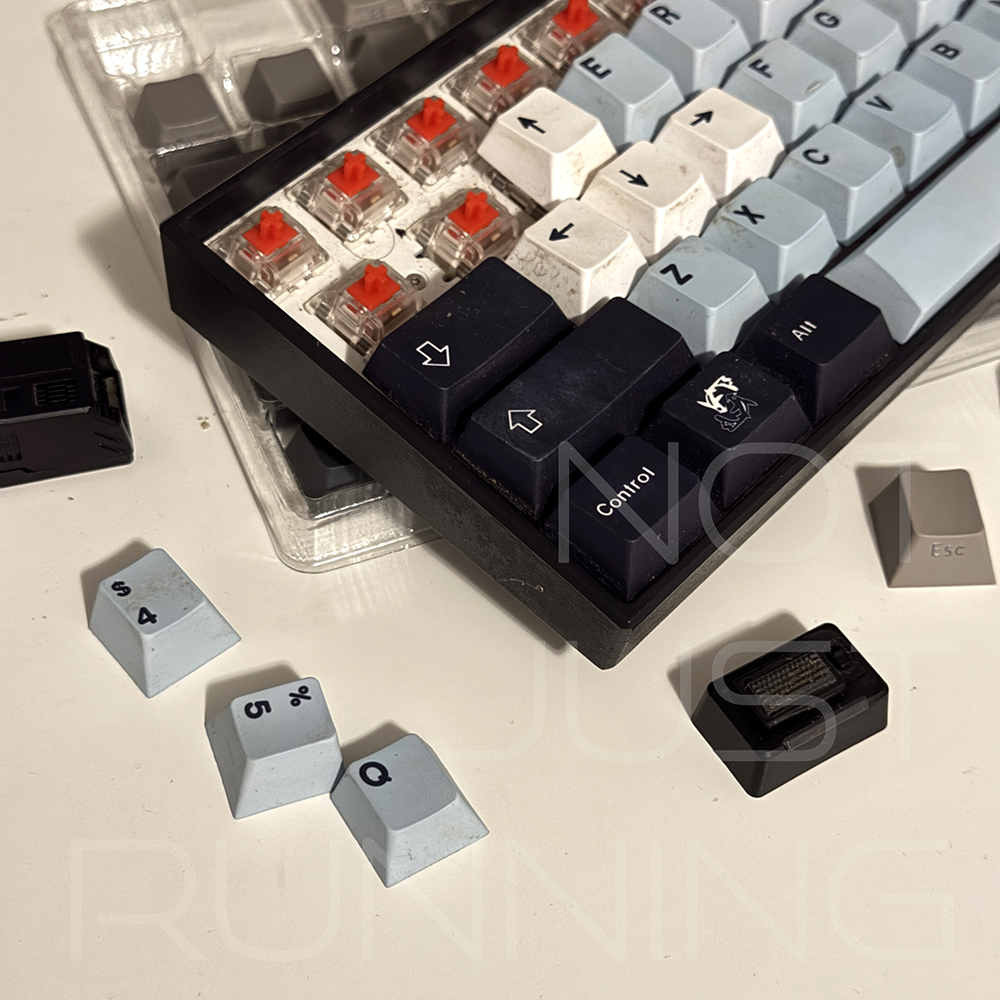
Removing the old keycaps was both satisfying and revealing. Using a keycap puller, I carefully pried each keycap off, starting with the larger ones like the spacebar and shift keys. As the keycaps came off, I was greeted by an alarming amount of crumbs, pet hair, and who-knows-what-else. It was clear that this cleaning session was long overdue.

If you’re planning to remove keycaps, here are a few tips:
- Be gentle to avoid damaging the switches beneath the keycaps.
- Keep track of the keycaps as you remove them. Placing them in a container ensures you don’t lose any.
- For stabilizer-equipped keys (e.g., spacebar, enter), take extra care to detach them without bending or breaking the stabilizers.
Step 5: Cleaning the Keyboard
With the keycaps removed, I had an unobstructed view of the keyboard’s surface, and it wasn’t pretty. Here’s how I tackled the cleaning process:
- Dust Removal: I started by using a small brush to sweep away loose debris. Compressed air came in handy for dislodging stubborn particles stuck in tight spaces.
- Surface Cleaning: Dipping a cotton swab in isopropyl alcohol, I meticulously cleaned the keyboard’s surface, paying close attention to the edges around the switches.
- Final Polish: A microfiber cloth gave the surface a clean, polished look, free of smudges and streaks.
Step 6: Installing the New Keycaps
Installing the new keycaps was the most exciting part of the process. Following the layout diagram provided with the keycap set, I began placing each keycap onto its corresponding switch. The snug fit and satisfying click as each keycap settled into place were incredibly rewarding. The retro-themed pastel colors transformed my keyboard into a visually striking centerpiece.
A few tips for installing new keycaps:
- Start with the larger keys that require stabilizers, as these can be trickier to align.
- Double-check the layout to ensure each keycap is placed correctly.
- Apply even pressure to avoid damaging the switches.
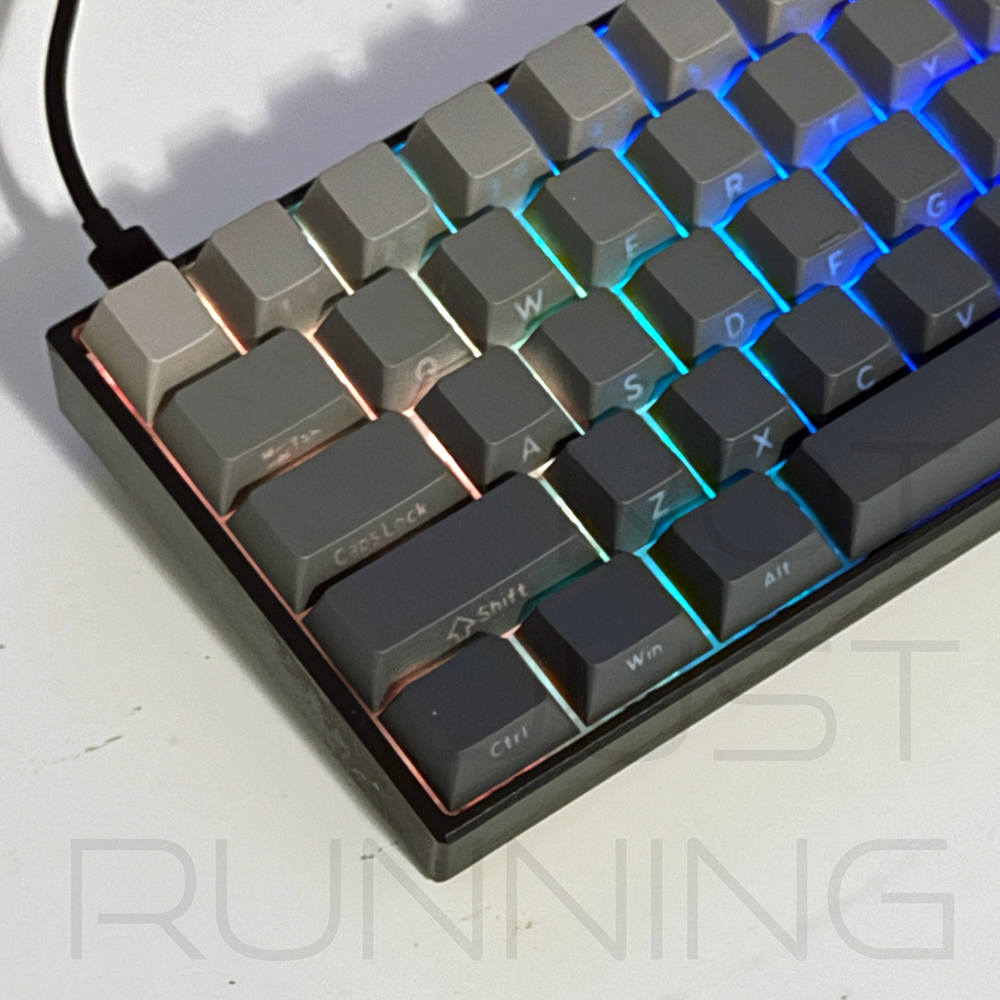
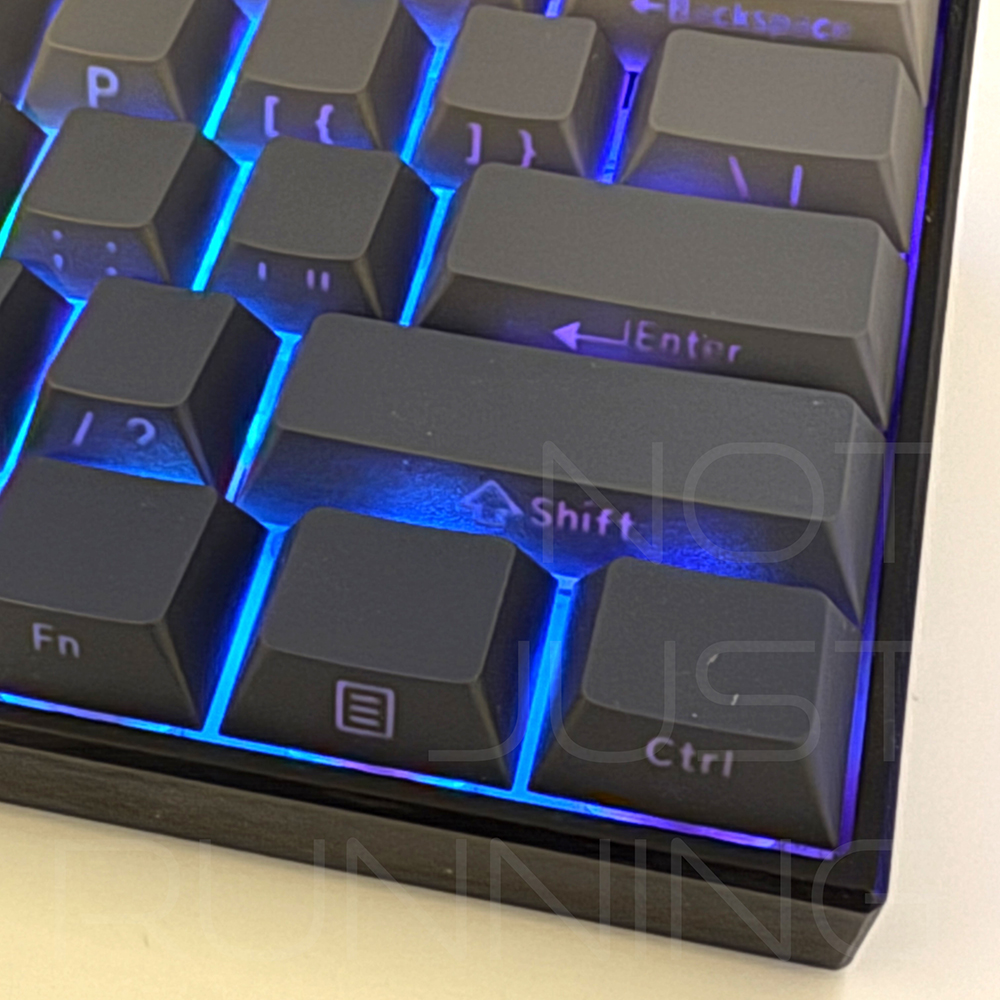
Step 7: Admiring the Results
Once all the keycaps were in place, I stepped back to admire my handiwork. The transformation was remarkable. Not only did my keyboard look brand new, but it also felt better to type on, thanks to the high-quality PBT material. The retro pastel design added a pop of personality to my desk setup, making it a joy to use every day.

Step 8: Maintaining the New Look
To keep my keyboard looking and feeling fresh, I’ve adopted a few maintenance habits:
- Regular Cleaning: I’ve started using a keyboard brush weekly to prevent debris buildup.
- Avoid Eating at My Desk: This one’s easier said than done, but it’s worth the effort.
- Periodic Deep Cleaning: Every few months, I plan to remove the keycaps and give the keyboard a thorough cleaning.
Why It’s Worth the Effort
Changing the keycaps on a dirty keyboard might seem like a small task, but it’s one that brings significant benefits. Beyond the aesthetic upgrade, the process gave me a deeper appreciation for my keyboard and how much it contributes to my daily productivity. It’s a reminder that even the most mundane tools deserve care and attention.
If you’ve been putting off cleaning your keyboard or customizing it with new keycaps, let this be your sign to go for it. The transformation is not only satisfying but also a great way to personalize your workspace. And who knows? You might even find yourself looking forward to typing just to enjoy your revitalized keyboard.
So, what are you waiting for? Grab a keycap set, roll up your sleeves, and give your keyboard the makeover it deserves. Your fingers will thank you!